
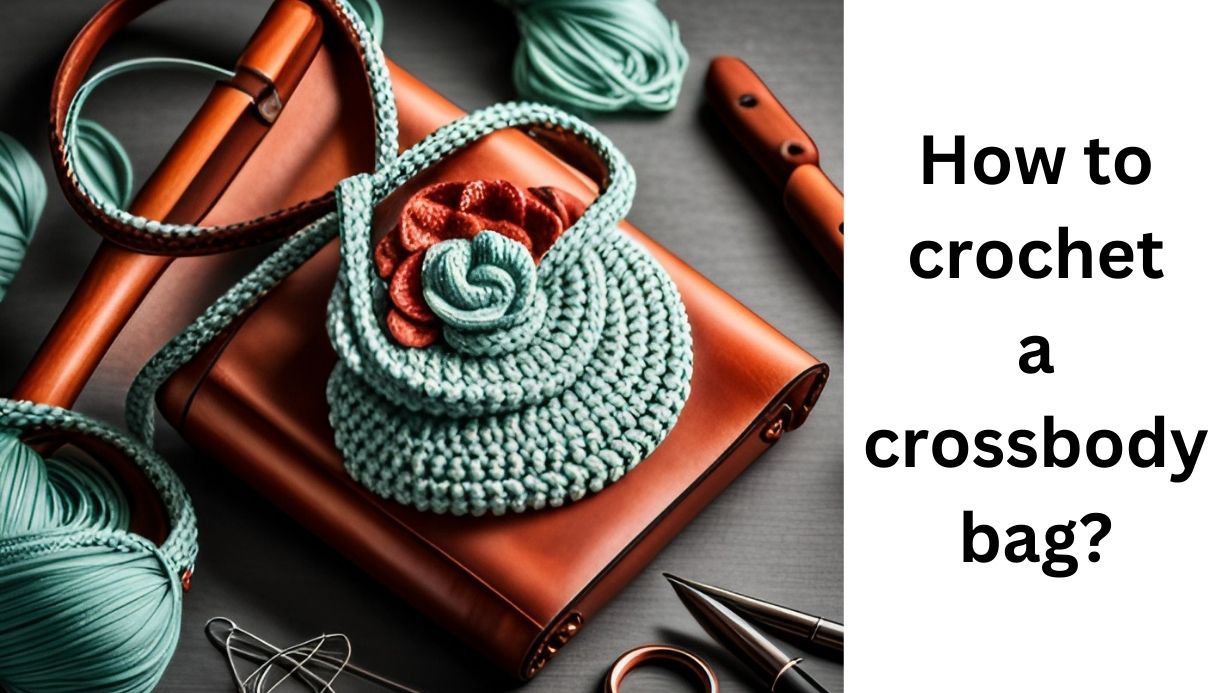
How to Crochet a Crossbody Bag? Crafting Magic!
Learn how to crochet a crossbody bag by using basic stitches like single crochet or textured stitches such as bobbles. Crochet tightly and consider using a hook size slightly smaller than recommended for a sturdy bag.
You can also use felting techniques to create a solid crochet fabric.
Choosing The Right Stitch
When it comes to crocheting a crossbody bag, one of the most important decisions you’ll make is choosing the right stitch. The stitch you choose will not only determine the overall appearance and texture of your bag but also its durability and functionality. Below, we’ll explore three different categories of stitches to help you make the best choice for your project: basic stitches, highly textured stitches, and felting techniques.
Basic Stitches
If you’re new to crochet or looking for a simple yet elegant option, basic stitches are a great place to start. One of the most commonly used basic stitches for bags is the single crochet stitch. This stitch creates a dense and sturdy fabric, making it perfect for holding your belongings securely. Another option is the half double crochet stitch, which provides a slightly taller and looser stitch. Both of these stitches are easy to learn and work up quickly, making them ideal for beginners or those short on time.
Highly Textured Stitches
If you prefer a more visually interesting and tactile bag, highly textured stitches are the way to go. One popular choice is the bobble stitch, which creates small raised bumps on your fabric, adding depth and dimension. This stitch is not only visually appealing but also adds extra durability to your bag. Another option is the popcorn stitch, which creates larger, puffier bumps. These highly textured stitches can make your bag stand out while still providing the necessary strength to withstand everyday use.
Felting Techniques
If you’re looking for a more solid and sturdy crochet fabric, felting techniques can be a game-changer. Felting involves subjecting your finished crochet piece to heat, moisture, and agitation to shrink and tighten the fibers, resulting in a denser material. This technique can transform a loose and stretchy stitch into a solid and durable fabric, perfect for a long-lasting crossbody bag. Keep in mind that felting can alter the size and appearance of your project, so it’s essential to swatch and test before committing to felting your entire bag.
By considering the style, functionality, and durability you desire for your crossbody bag, you can choose the right stitch based on your skill level and personal preference. Whether you opt for a basic stitch, a highly textured stitch, or decide to experiment with felting techniques, your choice of stitch will ultimately determine the success of your crochet project.
Crocheting Sturdy Bags
Learn how to crochet a crossbody bag with these easy steps. Use a basic stitch and crochet tightly for sturdy results. Avoid sagging by using a round base and consider stiffening techniques for a more solid structure.
Tips For Creating Lasting Bags
Creating a sturdy, durable crochet bag involves a few key techniques and considerations. By following these tips, you can ensure that your crossbody bag will stand up to everyday use and last for years to come.
Preventing Sagging
One common issue with crochet bags is sagging, especially when carrying heavy items. To prevent this, consider the following techniques:
- Use a Round Base: When starting your bag, opt for a round base instead of a flat one. This will help distribute the weight evenly and provide extra stability.
- Crochet Tightly: To create a firmer fabric, crochet tightly using a slightly smaller hook size than recommended. This will increase the density of the stitches, making the bag more resistant to stretching and sagging.
- Reinforce the Bottom: Consider adding a reinforcing lining or using iron-on interfacing to stiffen the bottom of the bag. This will provide extra support and help maintain its shape.
By implementing these prevention techniques, you can keep your crochet bag looking fresh and prevent sagging even with regular use.
Remember, the key to crocheting sturdy bags is to pay attention to the details and use techniques that promote durability. By following these tips and tricks, you can confidently create a crossbody bag that will withstand the test of time.
Stiffening The Crochet Bag
Stiffening your crochet bag is an essential step to ensure that it maintains its shape and durability over time. Without proper stiffening, the bag might become saggy and lose its structure, making it less functional and visually appealing. Fortunately, there are a few methods you can use to stiffen your crochet bag and give it that perfect finish.
Using Starch Spray
One of the easiest and most effective ways to stiffen your crochet bag is by using starch spray. Starch spray is easily available at most convenience and craft stores and provides a simple solution to stiffening your bag.
To use starch spray, follow these steps:
- Lay your crochet bag on a flat surface.
- Evenly spray the starch onto the bag, making sure to cover every part of the crochet fabric.
- Gently shape the bag into the desired form.
- Allow the bag to dry completely, preferably overnight.
- Once the bag is dry, you’ll notice that it has become noticeably stiffer and holds its shape better.
Using Iron-on Interfacing
If you plan to add a liner to your crochet bag, using iron-on interfacing is an excellent way to stiffen it. Iron-on interfacing provides added support and structure, making the bag more robust and capable of holding its shape for a longer period.
To use iron-on interfacing, follow these steps:
- Cut the iron-on interfacing to match the size and shape of your crochet bag.
- Place the interfacing on the wrong side of the crochet fabric.
- Cover the interfacing with a piece of thin cotton fabric or a pressing cloth.
- Set your iron to the appropriate temperature for the fabric being used.
- Gently press the iron onto the fabric, using a smooth, gliding motion to ensure the interfacing adheres properly.
- Allow the bag to cool down completely before handling.
By utilizing either starch spray or iron-on interfacing, you can effectively stiffen your crochet bag and achieve the desired level of structure and durability. Experiment with both methods and see which one works best for your specific bag design and preferences. Remember, a well-stiffened crochet bag not only looks great but also stands the test of time.
Step-by-step Tutorials
Learn how to crochet a crossbody bag with our step-by-step tutorial. We provide easy-to-follow instructions and free patterns, ensuring you can create your own stylish bag. Get started today and showcase your crochet skills!
Crochet Crossbody Bag With Granny Stitch
Crocheting your own crossbody bag is not only a great way to showcase your creativity but also a practical accessory to add to your wardrobe. One popular stitch pattern that you can use to create a crochet crossbody bag is the granny stitch.
The granny stitch is a classic crochet pattern known for its versatility and ability to create beautiful, textured fabric. With its open and airy design, the granny stitch is perfect for creating a crossbody bag that is both stylish and functional.
To begin crocheting a crossbody bag with the granny stitch, you will need to gather your materials. Here’s what you’ll need:
– Worsted weight yarn in your preferred color
– Crochet hook in the appropriate size for your yarn
– Yarn needle for weaving in ends
– Buttons or other closures (optional)
Once you have your materials ready, follow these step-by-step instructions to create your own crochet crossbody bag with the granny stitch:
1. Start by creating a foundation chain of the desired length for the width of your bag. Make sure to chain an even number of stitches.
2. In the third chain from your hook, work 3 double crochet stitches (dc). Skip the next chain, and in the next chain, work 3 dc stitches. Continue this pattern of skipping a chain and working 3 dc stitches in the next chain across the entire row.
3. For the subsequent rows, you will always be working the granny stitch pattern. To do this, chain 3 (counts as the first dc), then work 3 dc stitches in the space between the groups of 3 dc stitches from the previous row. Repeat this pattern across the row.
4. Continue repeating step 3 until your bag reaches the desired height. Remember to work into the chain spaces between the groups of 3 dc stitches from the previous row.
5. Once you’ve reached the desired height, fasten off your yarn, leaving a long tail for sewing the sides of the bag together.
6. Fold your crocheted piece in half, aligning the sides. Thread your yarn needle with the long tail and sew the sides together using a whip stitch or any other stitch of your choice. Leave an opening at the top for the bag’s opening.
7. If desired, you can add a strap to your crossbody bag. You can crochet a strap using the same granny stitch pattern, or you can use a different stitch pattern for variation. Attach the strap securely to both sides of the bag.
8. To complete your crossbody bag, add any additional embellishments such as buttons or closures.
With these step-by-step instructions, you can create your very own crochet crossbody bag using the classic granny stitch pattern. Get creative with your color choices and personalize your bag to match your style. Happy crocheting!
Easy Crochet Crossbody Bag Tutorial
Looking for an easy crochet crossbody bag tutorial? Look no further! With this simple tutorial, you’ll be able to whip up a stylish and functional crossbody bag in no time.
Materials you’ll need for this tutorial:
– Worsted weight yarn in your choice of color
– Crochet hook in the appropriate size for your yarn
– Yarn needle for weaving in ends
– Strap material (could be a chain of crochet stitches, a fabric strap, or even a repurposed belt)
Now, let’s get started with the step-by-step instructions:
1. Start by creating a foundation chain of the desired length for the width of your bag. Make sure to chain an even number of stitches.
2. In the second chain from your hook, work a single crochet stitch. Continue working single crochet stitches in each chain across the row.
3. Chain 1 and turn your work. Now, work a single crochet stitch in the first stitch of the previous row. Continue working single crochet stitches in each stitch across the row.
4. Repeat step 3 until your bag reaches the desired height. Remember to chain 1 and turn your work at the beginning of each row.
5. Once you’ve reached the desired height, fasten off your yarn, leaving a long tail for sewing the sides of the bag together.
6. Fold your crocheted piece in half, aligning the sides. Thread your yarn needle with the long tail and sew the sides together using a whip stitch or any other stitch of your choice. Leave an opening at the top for the bag’s opening.
7. Attach the strap to the bag by sewing it securely to both sides. You can use a chain of crochet stitches for the strap, a fabric strap, or repurpose a belt for a unique look.
8. To add a closure to your bag, you can sew on buttons, add a zipper, or even use a magnetic snap.
And there you have it, an easy crochet crossbody bag that’s perfect to carry your essentials while on the go. Customize your bag with different color combinations, stitch patterns, or embellishments to make it your own. Let your creativity shine and enjoy your new handmade accessory!
Remember, practice makes perfect, so don’t be discouraged if your first attempt doesn’t turn out exactly as planned. With time and practice, you’ll become a crochet crossbody bag expert in no time. Happy crocheting!
Frequently Asked Questions Of How To Crochet A Crossbody Bag
What Is The Best Crochet Stitch For Bags?
For crochet bags, the best stitches are single crochet or highly textured stitches like bobbles. Crochet tightly and use a smaller hook size. You can also use felting techniques for a solid fabric. Craftsy has tips for crocheting sturdy bags that last.
Can A Beginner Crochet A Bag?
Yes, a beginner can crochet a bag. Start with simple construction using basic stitches like the half double crochet. Fold a rectangle in a unique way to create the bag and seam it together. Use a round base to prevent sagging and consider stiffening options like starch spray or iron-on interfacing.
How Do You Keep Crochet Bags From Sagging?
To prevent crochet bags from sagging, use a round base to evenly distribute weight. Crochet tightly and consider using a smaller hook size than recommended. Another option is to use felting techniques or add iron-on interfacing for stiffness.
How Do You Stiffen A Crochet Bag?
To stiffen a crochet bag, you can use starch spray or iron-on interfacing. Starch spray can be found in convenience and craft stores, while iron-on interfacing works well if you plan on adding a liner to your project. Ensure the bag maintains its shape and structure.
Conclusion
Crocheting a crossbody bag is a fun and rewarding project. By using basic stitches like single crochet or textured stitches like bobbles, you can create a sturdy and stylish bag. To prevent sagging, consider using a round base and stiffening techniques like starch spray or iron-on interfacing.
With careful attention to detail and creativity, you can crochet a crossbody bag that is not only functional but also a fashion statement. Happy crocheting!

Hi I am Fahad, the mastermind behind the bag revolution. Join me on a journey where style meets sustainability and discover a world of extraordinary bags.


One Comment