
How to Fix Golf Bag Legs
To fix golf bag legs, first, inspect the leg mechanism for obstructions or damage. Then, tighten any loose screws and lubricate the pivot points if necessary.
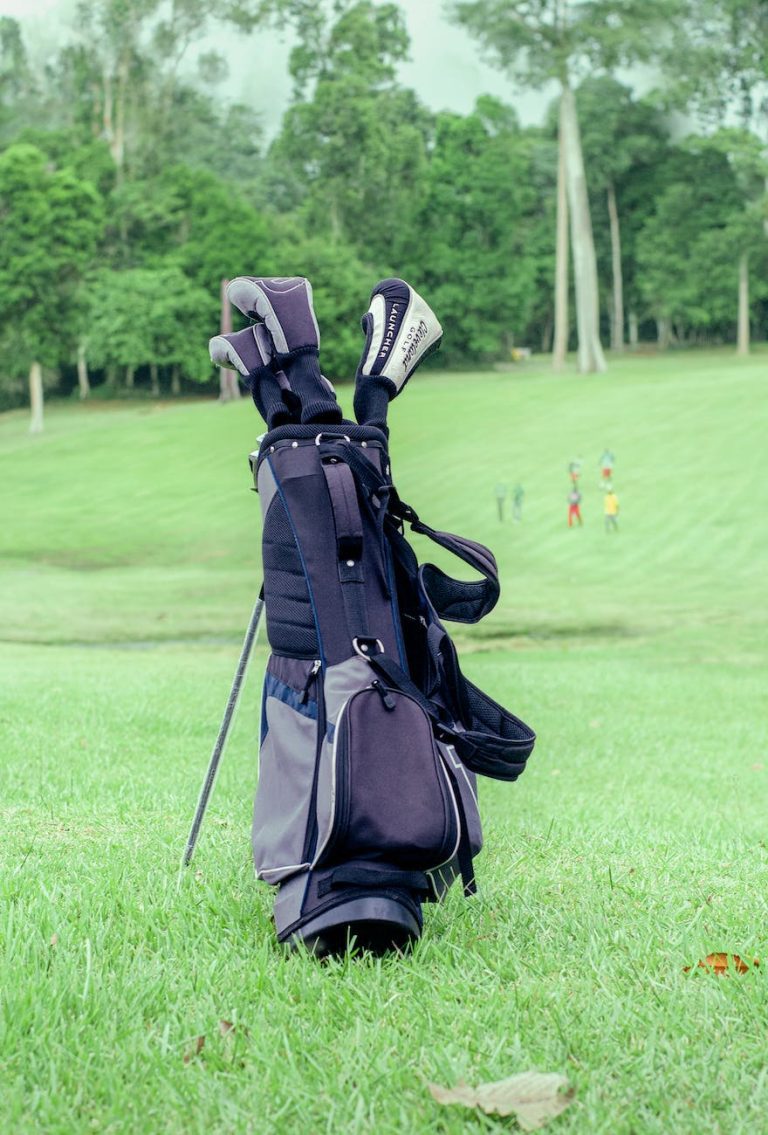
Golfers often face the frustration of malfunctioning golf bag legs, which can disrupt a game’s flow and damage equipment. A properly standing golf bag is crucial for easy access to clubs and seamless movement around the course. Fixing golf bag legs typically requires a DIY approach, addressing common issues such as bent legs, loose fittings, or stuck mechanisms.
By maintaining the working condition of these retractable legs, golfers ensure their focus remains on their swing rather than on managing their gear. As golf bags are essential for players at all levels, understanding how to repair this aspect of your equipment is both a practical and valuable skill. Whether you’re a casual weekend player or a seasoned pro, keeping your golf bag in top shape is an aspect of the game that should never be overlooked.
Troubleshooting Golf Bag Legs
Stability is key on the golf course, not just for your swing but for your gear as well. Golf bags with legs are designed to stand firm against the undulating terrain of a course. But what happens when those legs begin to falter? Troubleshooting malfunctioning golf bag legs can be the difference between frustration and a seamless day on the fairway. A quick fix can save both your bag and your game. Let’s dive into the common issues and how to spot the early signs of leg malfunctions.
Common Issues With Golf Bag Legs
Sturdy and reliable bag support is essential. Over time, golf bag legs might encounter various issues:
- Loose Rivets or Screws: These small components can significantly impact the stability of your bag.
- Bent or Broken Legs: Physical damage can impair functionality and trigger collapses.
- Worn Joints: Constant use may wear out the joints, leading to a wobbly stand.
- Sticky or Stiff Mechanisms: Without smooth operation, deploying the legs can become a challenge.
Familiarizing with each issue provides a solid starting point for making necessary repairs.
Recognizing The Signs Of Malfunction
| Sign of Malfunction | What to Look For |
|---|---|
| Unstable Standing: | Does the bag wobble or tip over easily when standing? |
| Difficulty Extending Legs: | Are the legs challenging to pull out or push back in? |
| Visible Damage: | Check for any noticeable bends, cracks, or breakages. |
| Audible Noises: | Listen for any unusual sounds when the legs are moved or bear weight. |
Regular inspection and maintenance are crucial to ensure your bag continues to stand tall and serve its purpose without any hitches.
How To Fix Golf Bag Legs Step-by-step
Embarking on a DIY repair journey for your beloved golf bag can seem daunting. Fear not, as fixing the legs of a golf bag can be straightforward if you follow a structured approach. Whether the legs have become loose, won’t retract, or are damaged, this guide will take you through repairing your golf bag legs in a step-by-step fashion. Let’s roll up our sleeves and hone in on the mechanics to breathe new life into your trusted caddy companion.
Gathering Necessary Tools And Materials
Before diving into the repair, ensure you have all the necessary tools and materials on hand. Here’s a quick checklist of what you might need:
- Phillips Screwdriver – For most golf bag legs, a basic Phillips screwdriver is sufficient to remove and tighten screws.
- Adjustable Wrench – Some leg mechanisms may need an adjustable wrench to secure nuts and bolts.
- Cleaning Cloth – To clean out debris and dirt that may hinder the repair process.
- Lubricant (WD-40 or similar) – This helps in loosening tight connections and smoothing out leg movement.
- Spare Parts (if necessary) – Depending on the condition of your golf bag legs, spare parts like screws or brackets might be needed.
Make a list and gather these tools and materials before starting your repair, to ensure a smooth and uninterrupted workflow.
Preparing The Golf Bag For Repair
Now that you have your tools ready, it’s time to prepare the golf bag. Follow these steps to ensure a safe and efficient repair process:
- Empty the golf bag of clubs and accessories to avoid any unintentional damage during the repair.
- Extend the legs and examine them for any visible damage or bent parts.
- Use the cleaning cloth to wipe down the legs and surrounding areas to remove grime and dirt buildup.
- Secure the golf bag in an upright position so that it doesn’t wobble or topple over as you work on the legs.
With these steps, your golf bag is now prepped and primed for a successful leg repair.
Additional custom sections per user’s fix needs would go below with each step laid out in further detail
Dismantling Faulty Mechanisms
Struggling with a golf bag that won’t stand up straight due to faulty legs can be frustrating. Before you contemplate buying a new bag or seeking professional repair, consider that with the right knowledge, you can dismantle and fix the faulty mechanisms yourself. By understanding the intricacies of your golf bag’s leg system, you can assess the complexity and take the necessary steps to repair it, possibly saving both time and money. Below we’ll explore how to safely remove existing legs from your golf bag and analyze the leg mechanism to determine the best course of action for repair.
Methods To Safely Remove Existing Legs
Before you begin the repair process, it’s critical to remove the existing legs safely to avoid any further damage to the bag or to yourself. Follow these steps:
- Place the golf bag on a flat, stable surface to prevent it from moving while you’re working on it.
- If your bag has a locking mechanism, ensure it is disengaged. You can usually do this by pressing or sliding a button located on the bag’s body.
- Carefully examine where the legs are attached to the bag. Look for screws, bolts, or clips that hold the legs in place.
- Using the appropriate tools such as a screwdriver or wrench, gently unscrew and remove the fasteners that secure the legs to the bag.
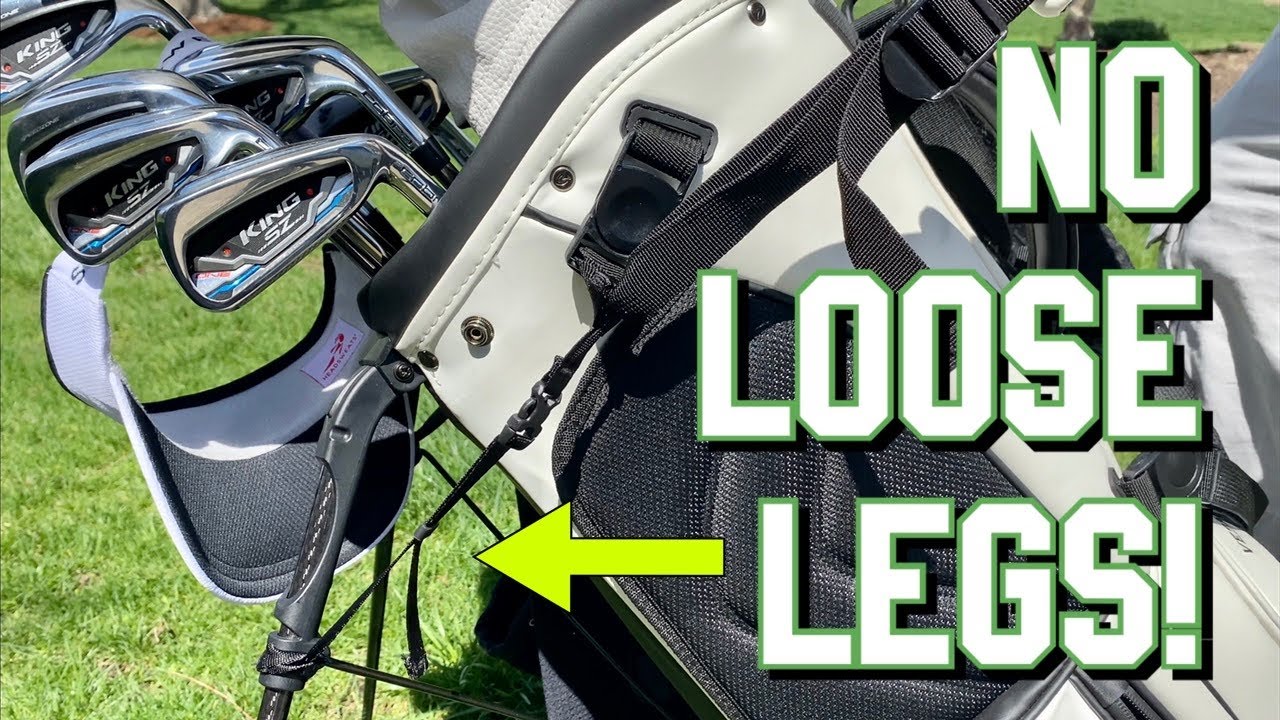
- Once all fasteners are removed, cautiously pull the legs away from the bag, being mindful of any tension from the leg mechanism’s spring.
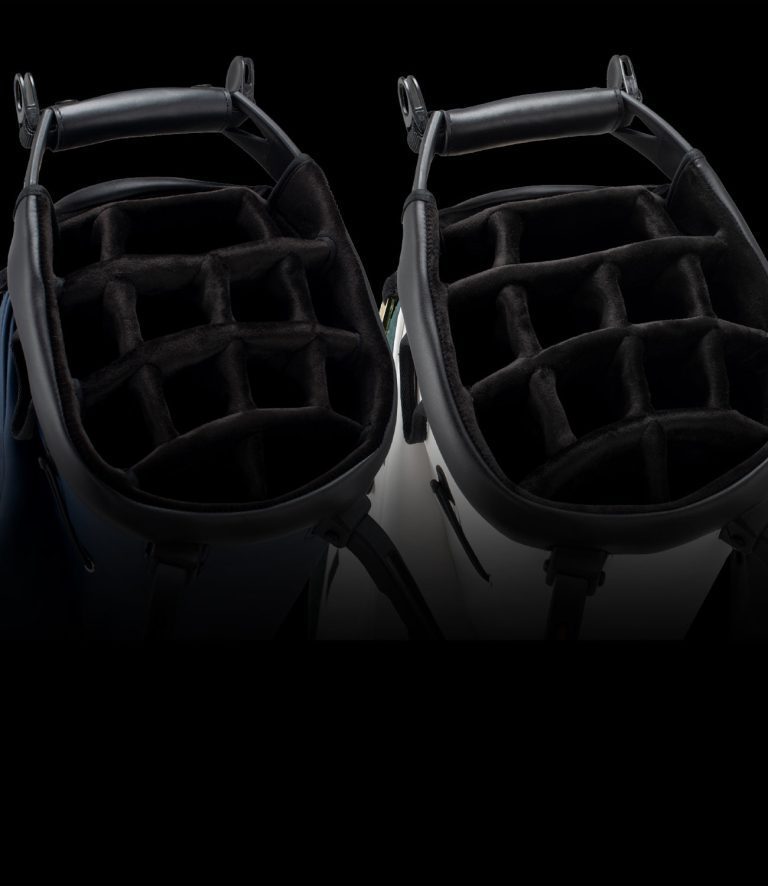
Analyzing The Leg Mechanism Complexity
Upon safely removing the legs, perform a thorough analysis of the leg mechanism to understand its complexity. This evaluation will guide you in repairing or replacing the necessary components. Consider the following aspects:
- Examine the condition of the spring system. Springs that are stretched out or have lost their tension will need to be replaced.
- Inspect the pivoting points for any signs of wear or corrosion. These are critical for smooth leg operation.
- Check the integrity of the attachment points where the legs connect to the bag, ensuring they haven’t been stripped or damaged.
- Review the overall design and complexity of the leg mechanism. Simpler systems may only require replacing a few parts, whereas more complex ones might necessitate a comprehensive overhaul.
| Component | Condition | Action Required |
|---|---|---|
| Legs | Bent or broken | Replace with new legs |
| Spring system | Weak tension | Replace springs |
| Pivoting points | Worn out | Lubricate or replace |
| Attachment points | Stripped | Repair or reinforce |
With your golf bag’s legs successfully dismantled and the mechanism’s complexity analyzed, appropriate repair or replacement steps can begin. Restoring the functionality of your golf bag is crucial for a stable and reliable golfing experience.
Credit: www.reddit.com
Identifying Leg Mechanism Problems
Trouble with a golf bag that won’t stand upright can throw a metaphorical bunker in the way of your game. A sure sign your golf bag is out of sorts is when its legs fail to offer the support they once did, tipping your practice into a state of disarray. But do not fret, as diagnosing the problem is the first step to getting back on the fairway with your trusty bag in tow.
Spotting Broken Or Worn Out Components
An examination of the leg mechanism is in order. Signs of damage or excessive wear indicate that immediate attention is required. Here’s what to look out for:
- Bent legs: Are the legs of your golf bag misshapen or bent? That’s a clear indicator that they may require straightening or possible replacement.
- Weak joints: Do the legs wobble or feel loose at the joints? It’s likely they’ve incurred damage or the screws may need tightening.
- Cracked components: Inspect for any visible cracks or breaks in the legs themselves or the supporting mechanism.
Each of these conditions can severely hamper the functionality of your golf bag. Take note of any parts that need care and consider your next move: repair or replace?
Deciding Between Fixing And Replacing
Making the right choice between fixing and replacing the legs can save time and money. Here’s a quick breakdown:
- Assess the damage: Simple fixes like tightening screws or straightening a minor bend can be done at home.
- Cost comparison: Evaluate the cost of replacement parts versus a new bag. Sometimes purchasing a new leg mechanism is more economical than a complete bag replacement.
- Longevity: Consider how long the repair might extend the life of your bag. If the fix is temporary, replacement could be the wiser investment.
Choose a cost-effective and practical solution tailored to your situation. Sometimes a quick fix is all that’s needed, but for significant wear and damage, investing in new components might be the best course of action to ensure your golf bag is ready for your next 18 holes.
Repairing Golf Bag Legs
Struggling with a faulty set of golf bag legs can turn a relaxing day on the course into an exercise in frustration. The legs on your golf bag are crucial for keeping your clubs elevated and easily accessible. However, wear and tear can lead to common problems like bends or breaks. Fixing your golf bag legs at home can save you both time and money, and with the right approach, your bag can be as good as new.
Step-by-step Guide To Repairing Common Issues
Repairing the legs of a golf bag typically involves assessing the damage, disassembling the legs components, and making the required fixes:
- Assessment: Begin by examining the legs for obvious damage. Look for bends, breaks, or loose components.
- Disassembly: Carefully remove the legs from the bag. This might require a screwdriver or other tools, depending on the design of your bag.
- Straightening: For bent legs, use a pair of pliers to gently re-shape them. Work slowly to avoid further damage.
- Replacement: If a leg is broken, measure the length and purchase a suitable replacement from a golf store or manufacturer.
- Reattachment: Secure the repaired or new legs back onto the bag. If any screws or fixtures were damaged, replace these as well.
- Testing: Before heading back to the course, test the legs by extending and retracting them to ensure stability and function.
If you’re unsure about any step or lack the necessary tools, consult a professional. Attempting a repair without proper knowledge might lead to more severe damage.
Tips For Preventing Future Problems
Preventative measures are key to avoiding further complications with your golf bag legs:
- Regular Cleaning: Dirt and debris can cause wear and tear. Clean your golf bag legs frequently.
- Avoid Force: Don’t use excessive force when extending or retracting the legs.
- Proper Storage: Store your bag in a cool, dry place to prevent rust and other damage to the legs’ mechanism.
- Routine Checks: Periodically check the legs for loose screws or signs of damage.
- Professional Inspections: Consider having your bag looked at by a professional, especially after heavy use or exposure to harsh conditions.
By following these tips and maintaining your golf bag, you’ll likely enjoy a long-lasting and reliable golf bag leg mechanism. Always remember, taking preemptive action is more effective than dealing with a complete failure.
Testing And Maintenance Post-repair
Once you’ve successfully repaired the legs on your golf bag, the next vital steps are testing and maintenance to ensure the longevity of your fix. Proper testing guarantees that your repairs hold up on the green, while regular maintenance prevents future issues and prolongs the life of your golf bag. Follow these guidelines for effective testing and maintenance post-repair to keep your bag in pristine condition.
Ensuring Functionality Through Testing
Conduct comprehensive testing of the repaired legs by simulating various conditions you would typically encounter on a golf course. Start by setting up the bag on different terrains such as flat ground, slopes, and uneven surfaces. Observe stability, ease of deployment, and retention of position once extended. This mimics the real-world usage your golf bag will undergo.
- Check for smooth operation: The legs should kick out and retract without hesitation or stiffness. If you notice any resistance, consider applying a lubricant to the moving parts.
- Stress-test for durability: Load the bag with your golf clubs and accessories to ensure the legs can handle the weight without buckling or becoming unstable.
- Inspect for signs of wear: Look for any new signs of wear that could indicate a potential issue such as loose screws or bent components that may need immediate attention.
- Ensure retracting mechanisms lock: The legs must lock securely in both the open and closed positions without slipping.
Maintenance Tips For Lasting Bag Functionality
Prompt and diligent maintenance after repair enhances the durability of your golf bag legs. Employ these straightforward tips to sustain optimal functionality.
| Maintenance Task | Frequency | Instructions |
|---|---|---|
| Clean moving parts | Monthly | Wipe down legs and hinges using a damp cloth to remove dirt and debris. |
| Check for loose screws | Bimonthly | Tighten any screws that have loosened over time to prevent mechanical failure. |
| Lubricate joints | Every 3 months | Apply silicone-based lubricant sparingly to maintain smooth operation. |
| Inspect for wear and tear | Annually | Evaluate legs for any signs of damage or excessive wear. |
| Professional assessment | Every 2 years | Consider a professional checkup to catch any issues that may have gone unnoticed. |
Above all, stay consistent with your maintenance schedule. Proactive care prevents minor issues from escalating into major repairs. Storing your golf bag indoors when not in use also aids in preserving its condition against environmental elements. Such diligence ensures you never face the inconvenience of malfunctioning bag legs mid-game.
Frequently Asked Questions On How To Fix Golf Bag Legs
Why Do Golf Bag Legs Break?
Golf bag legs often break due to wear and tear, improper use, or overloading. Harsh conditions, like extreme temperatures or impact from drops, can weaken the leg mechanism, leading to failure.
How Can I Repair Broken Golf Bag Legs?
To repair broken golf bag legs, identify the damage first. If it’s a loose screw, tighten it. For a bent leg, gently straighten it. If parts are broken, you may need to order replacement parts from the manufacturer.
What Tools Are Needed For Fixing Golf Bag Legs?
Basic tools for fixing golf bag legs include a Phillips screwdriver, pliers, and an adjustable wrench. Sometimes, a spare part or a strong adhesive may be necessary for more complex repairs or replacements.
Can I Prevent My Golf Bag Legs From Breaking?
Prevent golf bag legs from breaking by avoiding overloading the bag, handling it gently, and storing it properly. Regular maintenance checks can also help you spot and fix small issues before they lead to bigger problems.
Conclusion
Repairing golf bag legs can be straightforward if you follow the steps outlined. With the right tools and a bit of patience, you can get back on the course quickly. Embrace this fix-it challenge and ensure your gear is always ready for your next round of golf.
Keep swinging with confidence!

Hi myself Taqi. My fashion isn’t a trend; it’s a personal manifesto, blending elegance with audacity.


One Comment